Embarking on your first game
Once you have the game setup and ready to go as per the previous post carry on reading to find out how to tackle your first game.
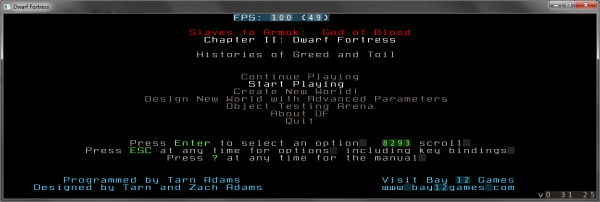
 At this point you should have hopefully generated your first world to play on so lets get straight ahead and select the Start Playing option from the main title screen. Don’t worry about my screenshot having the Continue Playing option and yours not, its just because I have old games on other worlds that I can jump straight into.T
The next screen is a list of game worlds you have available to play on at the moment, as I said in the previous post you can only have one active game per world. If you abandon a fortress you can re-use the world. As this should be your first go there will hopefully just be the one map on there with a region number. Hit enter to select this and on the following screen select Dwarf Fortress and hit enter again.
There are two other game modes but I haven’t tried either yet, adventurer allows you to play as a dwarf in an RPG style and explore your world including any previously abandoned fortresses. Legends allows you to see the history of the previous fortresses and other civilisations generated on the world. Both descriptions are a bit vague as its based on stuff I seem to remember reading (but could just have easily made up!). I digress, lets select Dwarf fortress and crack on.

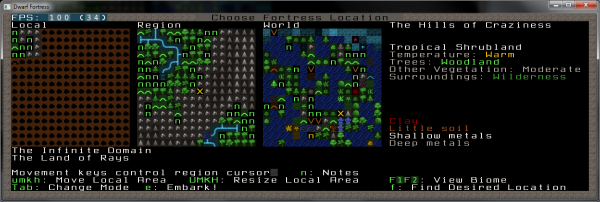
The location screen is made up of three tiles, starting from the far right one; this is a zoomed out view of the world map with the yellow cross marking the region you are currently looking at. The middle tile shows the general area around the cross. Here you can see I have the yellow cross over the edge of a grey area, this is the lower section of a mountainous area. The far left tile is a closer zoomed in view of the region, specifically where you are potentially choosing to embark (head off to create your fortress). The screenshot I’ve included is actually where I have chosen to embark to, my choice is based on the following things (my own personal choices for a good embark location);
- A minimum of Woodland for the trees field, this means I can be fairly confident that I will have enough wood to keep me going I start trading with the elves later in the game
- The temperature is warm, colder areas can be great fun to play on but very challenging. It can be hard to keep your dwarves warm and well watered if everything has frozen over!
- Vegetation is moderate, this means that local food from plants will be limited but shouldn’t be a massive problem, I have dogs to eat after all…
- Under the brief description of the area is a list of local resources, Clay, Little soil, Shallow metals and Deep metals. The soil and clay is important for me to be able to farm inside my fortress, farming outside can have greater returns but is problematic later in the game when you can be under siege or have been breached and need to be completely self sufficient. The shallow and deep metals will come in handy as we expand our fortress over time
I recommend travelling around until you find somewhere similar, again be sure to be on the edge of a rocky area or you won’t have anywhere to build your fortress into the side of! You can always build straight into the ground but keep that for when you have a better grip of how to play. Finally ensure you avoid any areas that have Aquifer listed under the local resource section. These can be problematic and are best left for when you are more advanced (if at all, I just avoid them altogether).
Once you have your dream location hit e to embark! Obviously you have already made up your mind so hit enter when it questions your decision making skills.
From the next menu select Use PHOEBUS from the menu (assuming you are using the graphics pack I have recommended). If you haven’t got it then come back at some later date and I’ll explain how to start with just “Play Now!”, for now I’m focusing on explaining the basics and getting you on your way.
If you really want you can name your fortress by pressing F, otherwise press e to embark. The defaults are good enough for the above style of location.
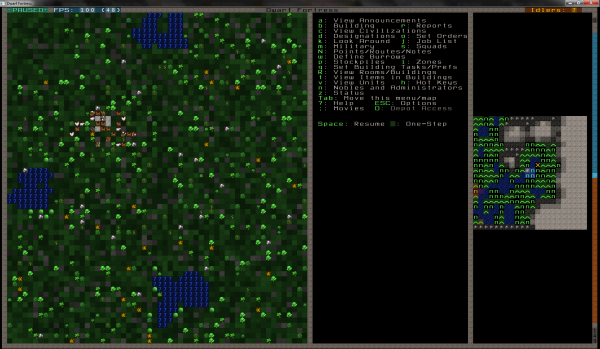
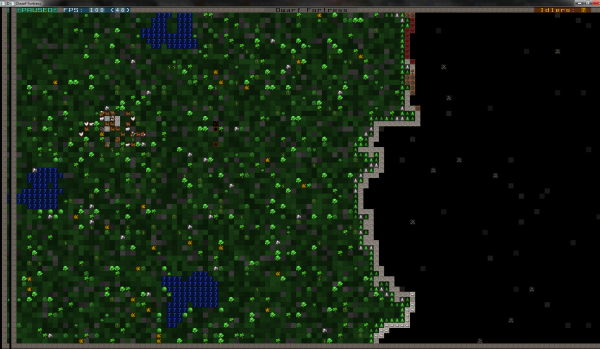
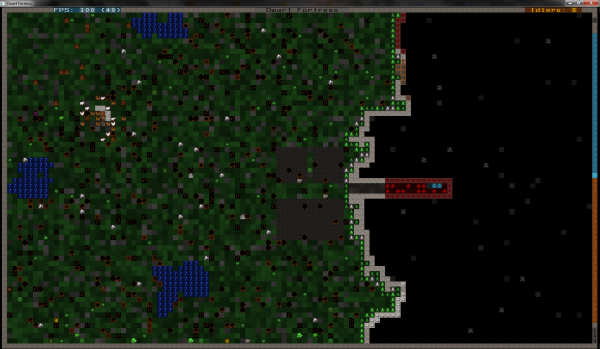
 This is my embarked location. First things first, press the spacebar, this will pause your game. Verify this by checking for the words PAUSED in the top left of your screen like my screenshot above.
Hopefully the trees are obvious to you in the above image, the green tiles with no trees or other icons on are just plain soil/grass. The blue areas are water sources and every other icon that doesn’t look like a tree (or a dwarf) and is greeny (Or yellow) coloured is a plant for cultivating later. In the middleish-right of the screen is a list of keyboard shortcuts and the far right is a local map of the area.
When you embarked you entered into an isolated area of the map, you can’t spread across the entire world (that would be ridiculous, tricky to maintain and definitely not fun) but only within your defined area. Don’t let this make you think you can’t build a massive fortress, for starters you’ll probably die before you manage that, otherwise you can move up and down through the axis so there is plenty of land to expand onto still!
If you press the tab key three times it should make the two right hand bars disappear, you can also use this key to bring them back. If you’re sticking to this guide I will point you to the shortcuts you need as we need them so don’t panic!
 Now you have a clear view of your surrounding area. Use the arrow keys to move around and hold shift while using them to move around quicker.
Lets give you some basic commands before I get stuck in, I will include the command in brackets each time I mention performing an action but you might find jotting this down helps (even if it doesn’t make sense just yet) Bear in mind that these commands are case sensitive so make sure you keep caps off! ;
- u – show a list of all units on your local map, including the jobs your dwarves are currently performing.
- d – Designation screen, designate areas for mining, wood chopping, plant gathering and more
- b – Build screen, select workshops or other buildings to build
- z – Basically an overview of your fortress, supplies, dwarves listed by skills, animals, stocks of items and if you have a hospital you can also access the health screen from here
- q – use this to select buildings to queue jobs or view messages
- v – view units, this includes enemy units, animals (wild or friendly) and dwarves.
- k – view local tile, lists what the current tile is, useful if you can’t make out what an icon is (if you understand the name of course…)
- m – Military screen, requires some explaining so don’t touch it yet!
- n – Your nobles, each noble requires some explaining so leave this for now.
- p – Stockpile screen, again this will get explained below.
That should be enough for now, as I said previously I will mention the command to press as I go along anyway.
Lets start our fortress! First you want to start hollowing out the mountainside, yes I remember that we haven’t un-paused yet. No worries, we can get our orders lined up and then un-pause.
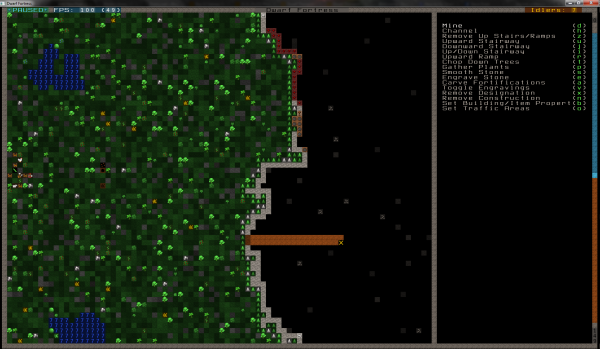
Open the designation screen (press d) and using the keyboard again select mine (press d). The designation screen works by you moving the yellow cross to where you want to begin the order, you then move the yellow arrow to the end destination and press enter again. Every square between the first and last tile is highlighted with the selected designation. The designation will only take affect if you apply something that can be done to it though, so for example you can’t apply gather plants to the side of a mountain instead of mine. Your dwarves will just think you’re stupid and start gossiping about you behind your back, something you don’t want!
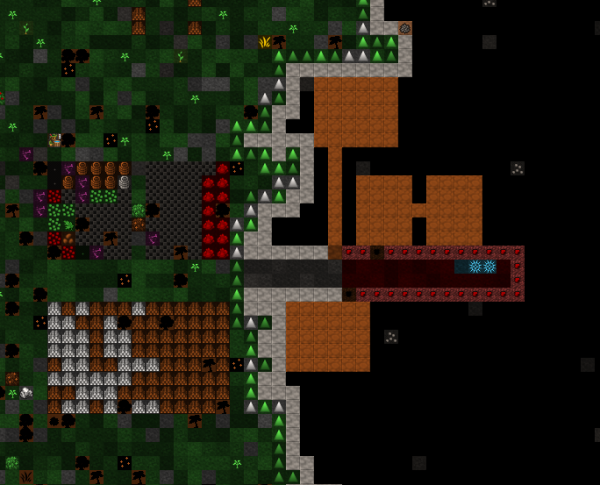
 In the above image I moved the yellow arrow to the far left edge of the mountain, pressed enter, moved down one tile and then scrolled arbitrarily to the right and pressed enter again. As you can see this has highlighted a nice orange area that when un-paused my miner (the one that that I brought along by default) will set to work at digging this out.
Why dig out two wide? Well I have seen tutorials that start with going one wide until your fortress expands but personally I like to start with a fortress designed with the future in mind, it takes more time and produces more stone but we have plenty of uses for this excess stone so don’t panic, we will get rid of it.
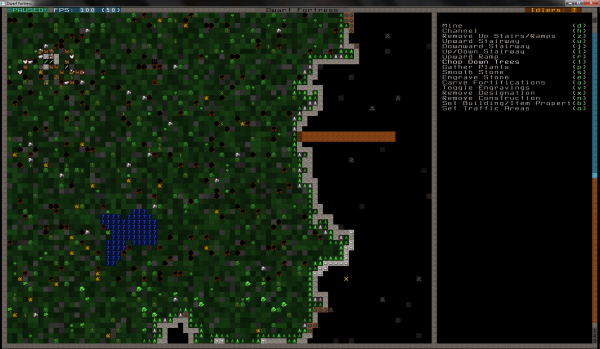
Now I want to designate an area of trees to be cut down. Opening the designation screen (press d) and selecting Chop down trees (press t), or if you still have the designation screen open just press t (you can use ESC to get rid of the designation screen, just keep pressing it until it tabs off the screen). Again using the same principal as mining I have selected a point in the top left, pressed enter and then chosen a point in the bottom right and pressed enter again. This draws a square over the area and highlights any trees within it for chopping as shown below.
 The trees that were once green within the selected square have now changed to black with an orange ground tile to signify that they are highlighted for chopping. If I decided I didn’t want to chop down some trees I could open the designation screen (press d) and then choose to remove designation (press x). In the same way that you applied the designation, draw a square/rectangle over the area you want to remove ANY designations. This isn’t limited by original action, it will remove any of the possible designations you can apply. If I drew it over my entire map it would remove the mining and chopping actions.
Finally I want to gather up some plants, I’m not going to tell you how to open the designation screen or how to select options in it now, its time for you to spread your wings and figure this one out yourself. Open the designation screen and select Gather Plants. Again draw a rectangle over a nice green area and it will highlight the plants for gathering. Don’t select too far away from where you are starting your mining at the moment, you have limited dwarves and will need them for gathering any resources gained through all these designations. The further away the resource the longer it takes to produce it (through chopping, gathering or mining), the longer it takes for a dwarf to reach it and move it back, the longer it takes to do something with the resources. You will get more dwarves and can branch out soon enough, for now, keep it local.
 You ready for this? Time for a big step. Hit space and let your adventure begin. Your dwarves will set to work, those with skills in gathering plants will gather the plants, those who can mine will mine and those who can chop will chop. Don’t question it too much at the moment but accept that when you embarked the default settings I suggested you took provided you with dwarves trained to manage all these tasks, albeit probably one per task.
Cool eh, all your little dwarves setting to work.
Ok, so above I mentioned about the time it takes to gather resources up, there are areas called Stockpiles. These are used to… stockpile… resources. They are crucial in the game however. If a stockpile exists with a free space on it then a dwarf will head out to grab the resource and move it to that stockpile. Early on it is sensible to build several stockpiles just outside your mining operations in the open green area.
Why? Well, eventually you will want to move everything inside, do you want your dwarves to be travelling backwards and forwards from across the wild plains outside your fortress to move resources inside or from just outside the main door?
Bring up the stockpile screen (press p) and designate a couple of different stockpiles. Hopefully you have grasped the control scheme by now, next to each stockpile is the keyboard shortcut to use it. You will want to build a wood, food and stone stockpile outside the front of your base. Nothing too massive and not covering the entrance. Don’t worry about the trees or plants getting in the way, this can’t be avoided at the moment. You cannot stack resources on top of un-harvested/gathered resources.
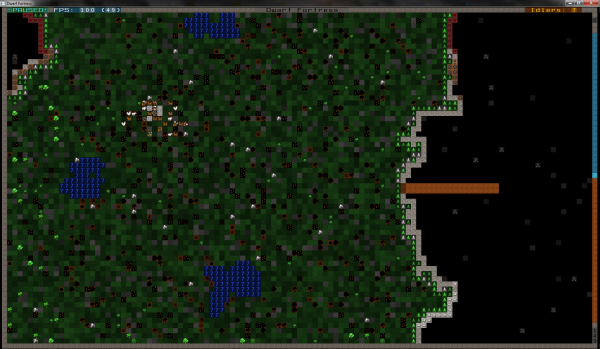
 The three grey boxes outside the entrance to my fortress are the stockpiles. The bottom largest one is a wood stockpile, this is the largest as I don’t have a huge amount of food at the moment and the stone will be produced inside my fortress anyway so the most crucial resource to keep close to home would be wood – the one that is also likely to be produced a way away from my fortress.
On the right of the above screenshot you can also see these strange red and blue icons on the ground of my newly mined area, these are stones and gems (the blue ones). They are produced when your miner mines through these types of material blocks. The clear white ones at the front of the base produced nothing as it is clay. Although it doesn’t produce any stone or gem resource it does provide something quite important, an area to build a farm plot.
 Now I am going to expand my mining operations. The mined path that heads north off the main passage first is for a farm plot, providing the area is all clay (I won’t know until I mine it). The section just below it is what I will eventually designate as my manager nobles office and bedroom, I will explain this when I kit it out. Heading south from the main passage is an area designated for what will eventually be a dormitory for my dwarves so they have somewhere to sleep.
So once again I hit space to pause, lets build two important workshops so we have some furniture to populate our soon to be mined rooms. While I am at it I will expand my wood stockpile as it already appears to have filled up.
Open the build menu (press b) and select Workshops (press w). Now select a Masons workshop (press m), this will display a 3×3 crossed box on the screen, try to position it somewhere close to your stone stockpile, when all the crosses are green it means there are no obstructions (natural resources or manufactured crafts) and you can press enter to place it. You then have to select the material to build it from, at the moment this isn’t terribly important. The list is in order of how close the material is so presumably if you have put this next to your stone stockpile and you have some stone in it, they should have popped the stone in the stockpile at the top of the list. Hit enter to accept. It will go back to the workshop screen, select Carpenters workshop next (press c) and place this next to the wood stockpile, follow the same steps above to accept the material type. Press ESC to clear the build menu from the screen, as you are inside the workshop menu inside the build menu you will need to press it twice, once to step out of the workshop menu and a second time to step back out of the build menu.
Some pointers about buildings, some require architects to attend to design the room first before another dwarf with a relevant skill attends to build the room. While we’re paused lets take a quick moment to check the two rooms we have placed. If I press q and move over my Masons workshop it should look like the following screenshot;
 Needs Masonry means the building is waiting for a dwarf with a masonry skill to arrive and start building. I will look at skills in 2 posts time, for now let your dwarves mine out the designated areas and build the relevant buildings. In the next post I will go into how to assign jobs to buildings directly and through a manager, we will also explore placing items build by workshops.
Read More
 This is the current state of affairs in my game. Most of the designated mining areas are nearly done and my two buildings have been built. Sadly the area at the top which I had hoped would be clay (a little optimistically to be fair) has turned out to be a mix of the two. Now I hate to have a farm plot that only takes up part of a room so I will keep this for another use another day. Lets quickly get a farm plot setup outside until I have time to dig down (I have checked and the level below has alot more clay, perfect for my farming exploits).
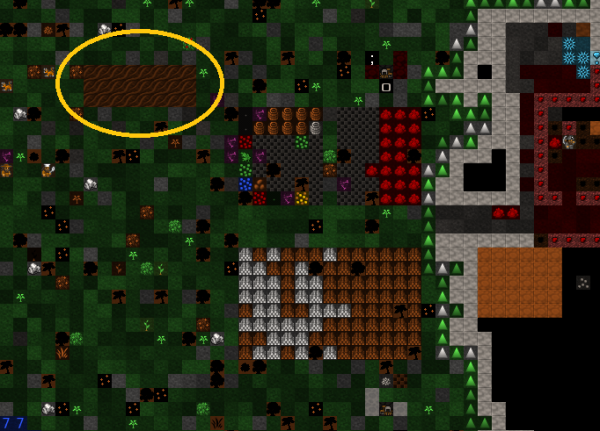 The area inside the yellow circle is how a farm plot looks. This should be flashing whilst it is awaiting construction by a farmer. Finally before we un-pause lets build a still. You may find if you press z you are out of drink or close to it by now. This is bad! When you have little drink your dwarves loose performance when performing tasks and their working days get shorter, they can eventually die of thirst (especially as we don’t have any buckets yet!). To brew beer you need to build a still via the workshop menu, to help you out press b then w then l. As with the previous two workshops you need a 3×3 clear area.
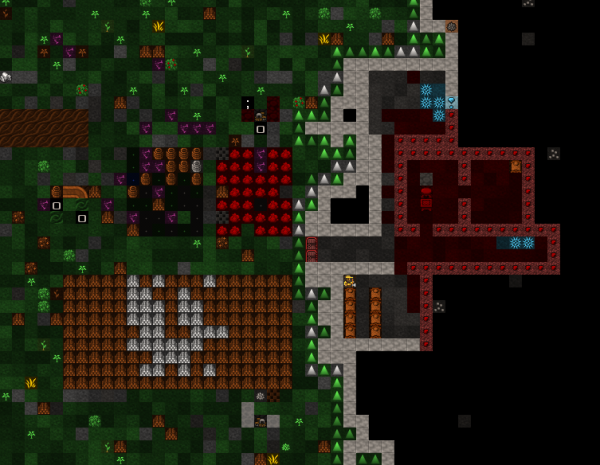 The above screenshot displays the final placement of the doors, table chair and bed in the managers quarters. Lets add 5 doors to the mason workshops job queue for future use and check if we need to start brewing any drink by pressing z. If it is below 10 then you should add brew drink to the queue and queue some barrels in the carpenters workshop. Don’t fill the workshop queue with barrels though, add a few buckets (once hovering over the carpenters with q press a to add items and e to add a bucket) to the list for emergency use if you happen to run out of booze again or just for general future use.